<GeeXLab Rootard Guide/>
GeeXLab and Raspberry Pi
Last Update: 2020.02.01 by JeGX
>> Back <<
1 -Overview
GeeXLab supports Raspberry Pi since March 2015 (version 0.8.2). Since its first integration, the Raspberry Pi's support in GeeXLab has evolved and most of the youth bugs have been fixed. But by the way, what is the Raspberry Pi?
The Raspberry Pi, or RPi for intimates, is a micro computer in the true sense of the word. It's a SBC (Single Board Computer). The RPi is a complete computer (quad-core CPU, GPU, RAM, USB ports, ethernet port, audio output and HDMI output) that fits on a credit card. The RPi is powered by a Linux operating system: the Raspbian which is a derivative version of the Debian distribution.
2 - OpenGL Support
If I'm interested in the Raspberry Pi, it's simply because the RPi can do 3D. It is equipped with the VideoCore IV (VC4), a GPU by Broadcom. The VC4 is an OpenGL 2.1 and OpenGL ES 2.0 compatible GPU. When I was interested in RPi, only OpenGL ES 2.0 support was available. But this support has a little annoying limitation on the RPi: the window manager of Raspbian does not support it. To put it simply, it is not possible to create a standard windowed application that supports OpenGL ES 2.0 hardware acceleration. The only way to display 3D with OpenGL ES 2.0 is to draw directly on the Raspbian desktop. In addition, since there is no window, all the low-level management of the keyboard / mouse has to be coded from scratch. I can tell you that I spent many hours just to control the mouse! But it's done and OpenGL ES 2.0 support is fully functional in GeeXLab.

Because of the severe constraint imposed by OpenGL ES (no window manager), the Raspberry Pi Foundation team decided to add the OpenGL 2.1 support. And this time, 3D windows are supported. We are back in the traditional world of OpenGL programming on Linux with X11 windows. Even if programming X11 windows (with the Xlib) is often difficult (and sometimes incomprehensible), we are finally facing a standard windowed application: the keyboard and the mouse are managed by X11 and suddenly moving, with the mouse, an OpenGL window is possible (crazy thing!).
If I summarize a little bit, we have with the Raspberry Pi, a complete computer the size of a credit card, which consumes little power (around 10 watts max) and equipped with real-time 3D OpenGL 2.1 level capabilities. Not bad!
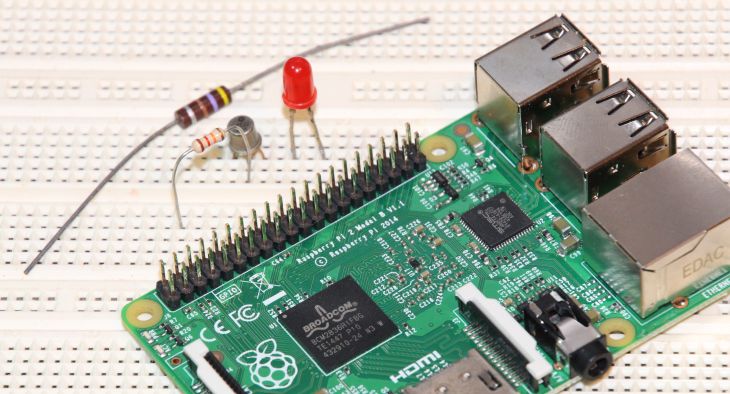
3 - The GPIO Connector
The Raspberry Pi has a second weapon of another kind: the GPIO. GPIO is the acronym for General Purpose Input Output. It's simply a 40-pin general purpose connector. And the really interesting thing is that you can program this connector. There are APIs in C or Python for this. And of course, GeeXLab also offers an API, both in Lua and Python, to program this GPIO. So it's easy, with GeeXLab, to drive an electronic system while displaying 2D or 3D synchronized with electronics. What I love with the GPIO is this passage from the virtual world to the real world, or how the virtual controls the real.
Here are two articles I wrote some time ago that deal with the GPIO port and its programming with GeeXLab:
- Meet the Raspberry Pi GPIO connector
- How to Control a LED With Raspberry PI GPIO and GeeXLab (in Lua or Python)
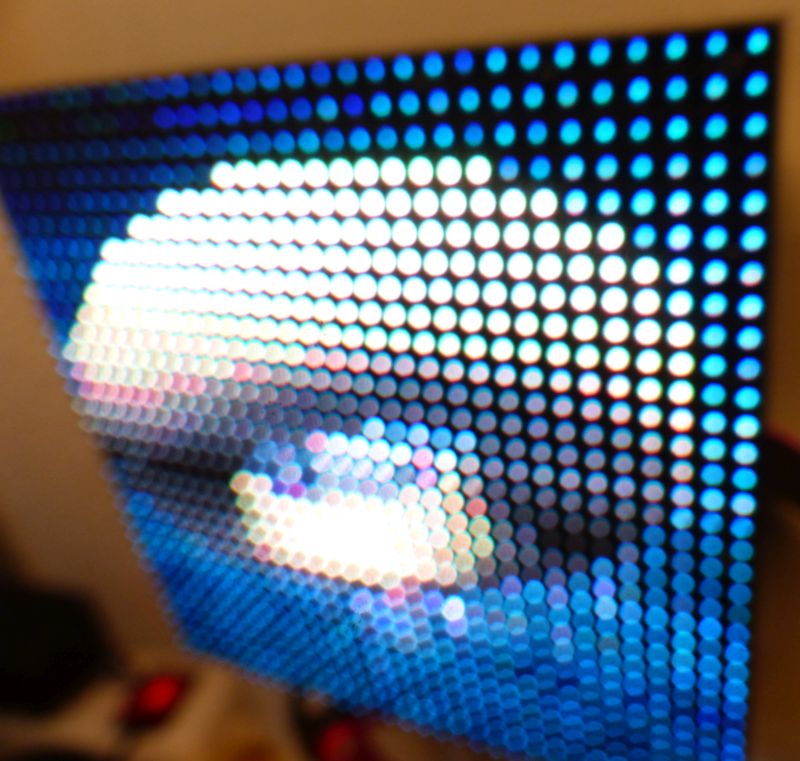
4 - RGB LED Matrix
But it is not finished. The GPIO connector allows all kinds of crazy things. One of these follies is the driving of RGB LED matrix panels. A RGB LED matrix is a small square panel (about 10cm x 10cm) that contains LEDs. In my case, I found panels of 32x32 LEDs (1024 LEDs). Each of these LEDs can be controlled individually. And of course, I added support for programming these LED panels in GeeXLab. It is therefore possible, thanks to GeeXLab, to render any 3D scene on LED arrays.
Here are some articles that deal with LED RGB panels and their programming with GeeXLab:
- Rendering Real Time 3D Graphics on a 32×32 RGB LED Matrix Panel with a Raspberry Pi and GeeXLab
- Drawing Simple Graphics on a RGB LED Matrix Panel with a Raspberry Pi and GeeXLab
- Adafruit RGB Matrix HAT: the Raspberry Pi can talk with the RGB LED Matrix Panel
- Adafruit 32×32 RGB LED Matrix Panel 4mm Pitch Unboxing
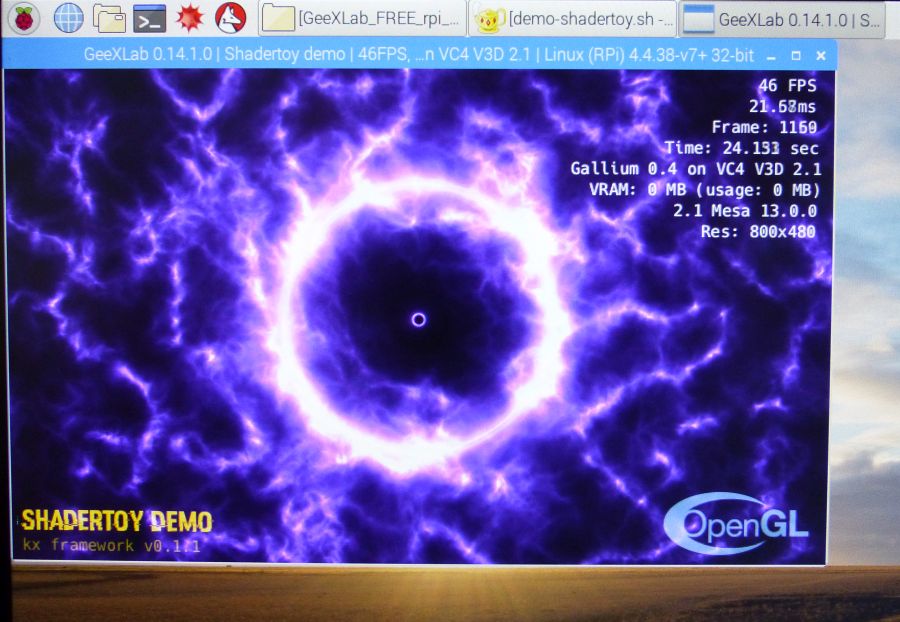
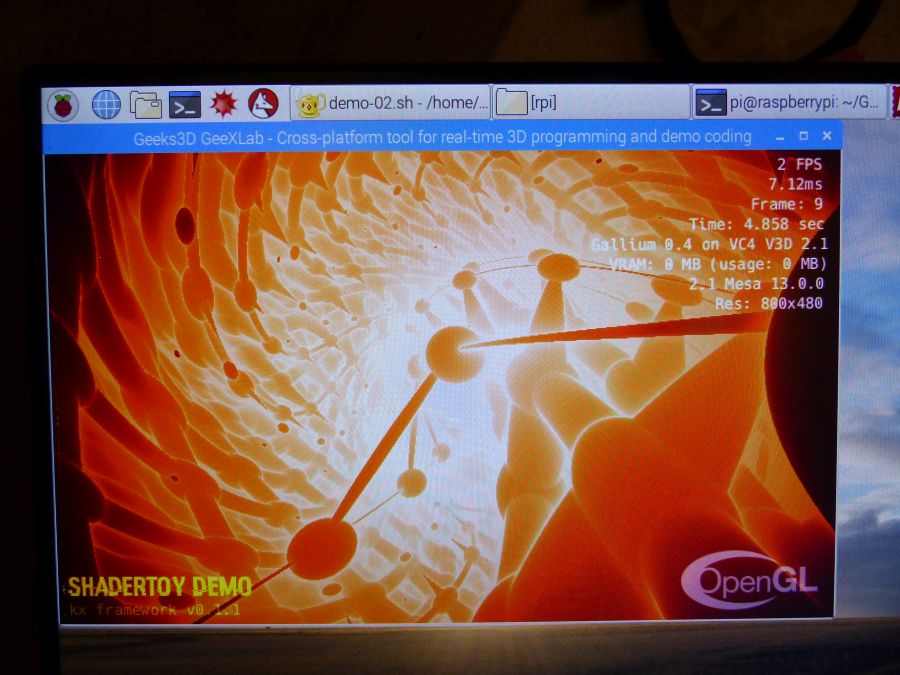
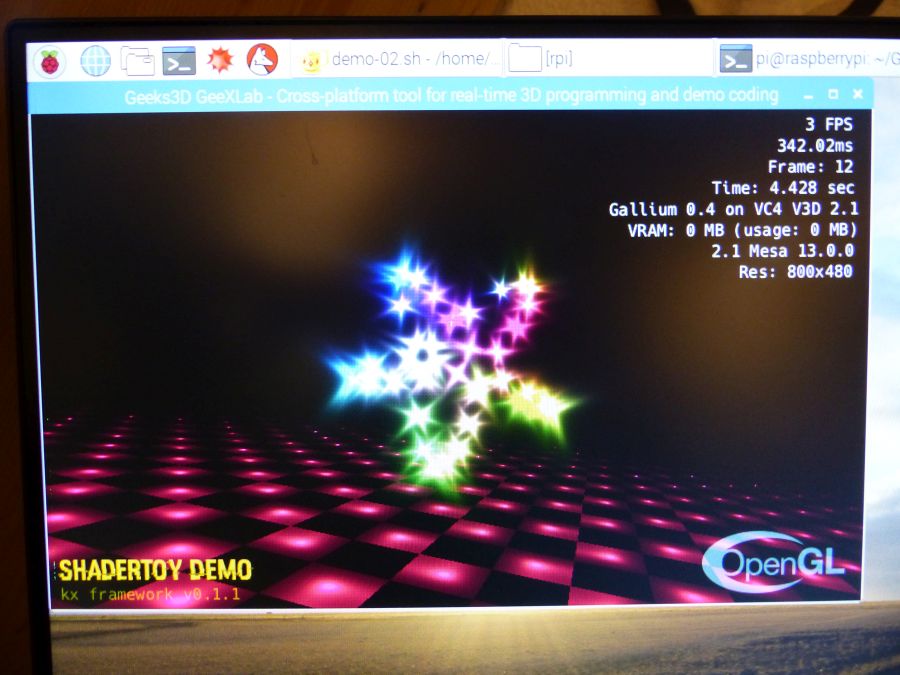
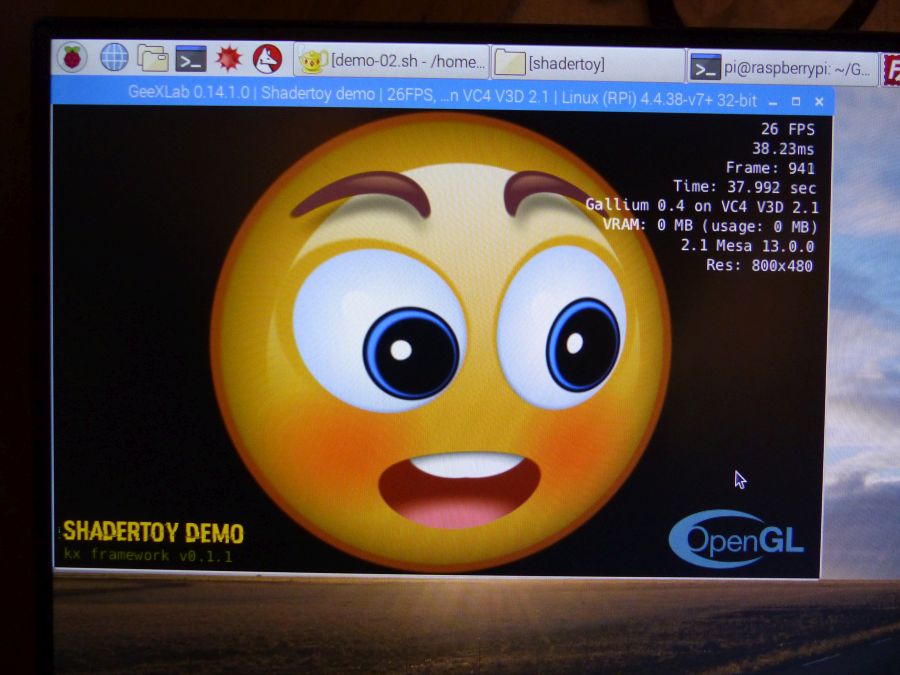
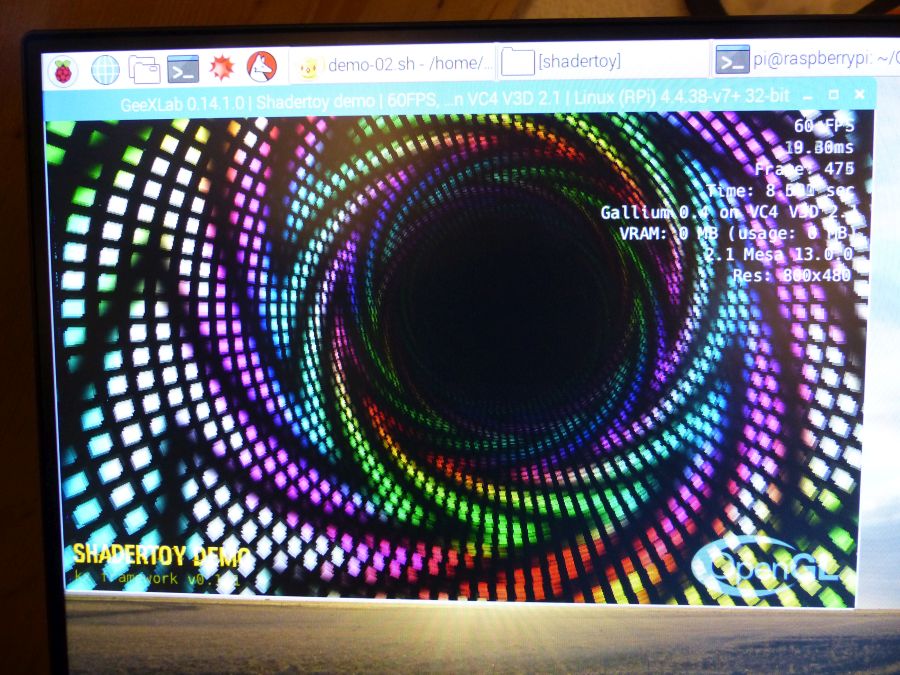
5 - Shadertoy Demos
And to finish this presentation of the Raspberry Pi and what its possibilities with GeeXLab, here are some screenshots of shadertoy demos converted to GeeXLab (OpenGL 2.1). Some of these demos have a really good framerate (> 30FPS) while some are much more difficult to digest by the small RPi ( < 10FPS ).
If you want to test these demos you need GeeXLab for Raspberry Pi with OpenGL 2.1 and the shadertoy demo pack: This little article can help you launch shadertoy demos with GeeXLab.